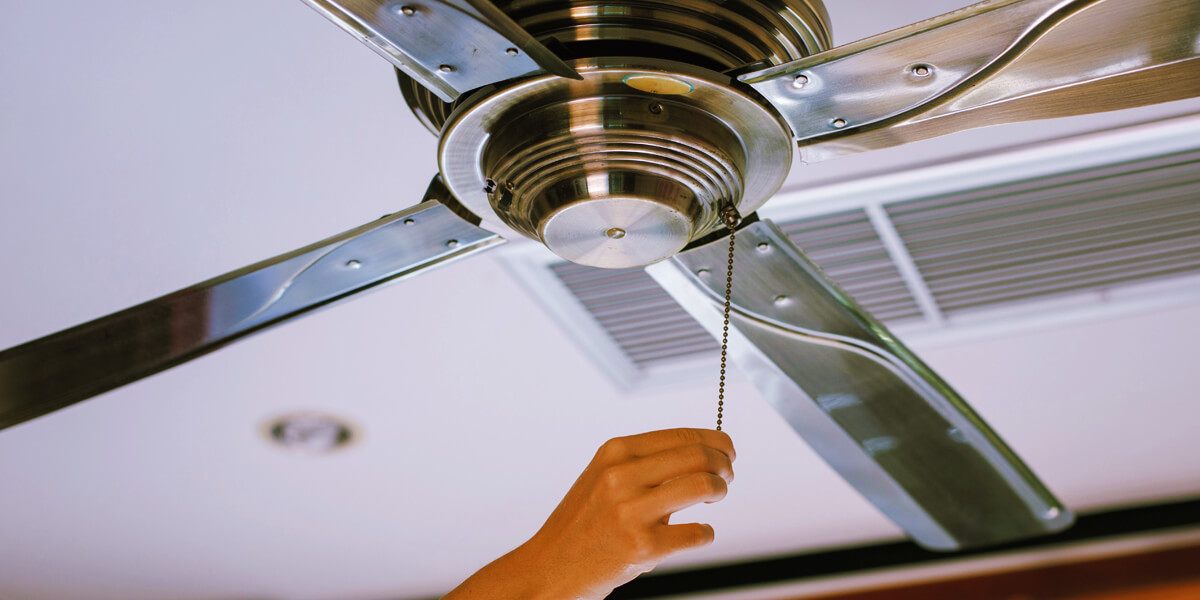
Imagine a sweltering summer day. You switch on your ceiling fan, only to find it barely moving and making unbearable noise. Not only is this frustrating, but it can also affect the longevity and performance of your fan. Regular ceiling fan maintenance can make a world of difference. This step will ensure that your fan remains in good condition and continues to provide you with much-needed relief during those hot days. And if you’re eager to learn how to maintain your overhead fans in the most effective way, read on!
General maintenance tips
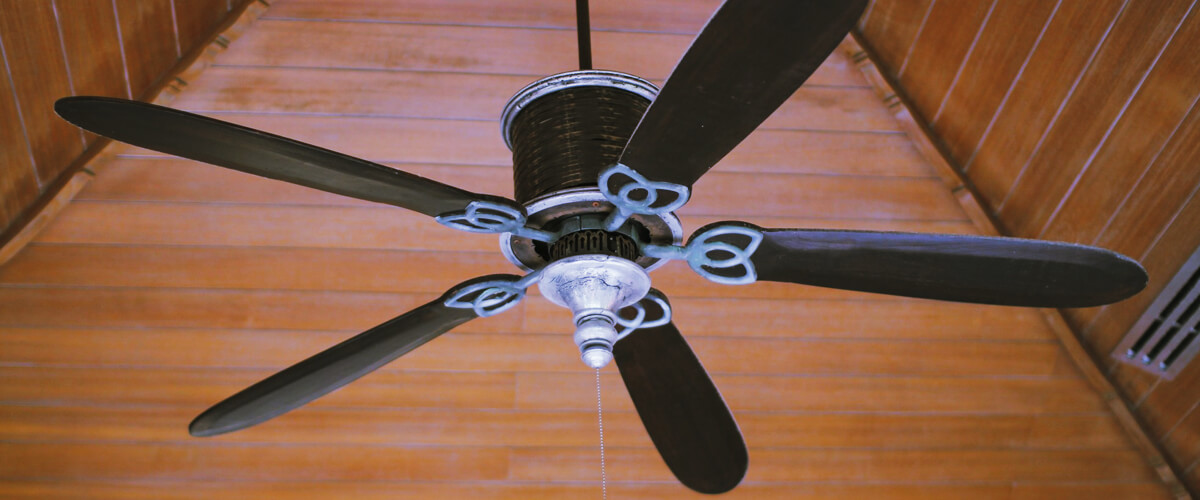
Before diving into specific maintenance techniques, let’s explore some general principles of ceiling fan care.
Why is maintenance necessary?
A well-maintained ceiling fan will greatly enhance your comfort and living space. By regularly taking care of your fan, you improve air circulation, prevent unexpected breakdowns, reduce energy costs, and extend the fan’s lifespan. Furthermore, proper maintenance helps in keeping it quiet and wobble-free, ensuring a pleasant ambiance in your home. In addition, a clean air mover reduces the accumulation of dust and allergens, which promotes a healthier environment for you and your family.
How often to perform maintenance?
The frequency of maintenance depends on various factors, such as the fan’s usage and the room’s dust and dirt levels. Generally, it’s a good idea to give your ceiling fan a thorough cleaning and inspection every three to four months. However, if the fan is located in a room with high levels of dust, pet dander, or humidity (such as a kitchen or bathroom) more frequent maintenance may be necessary to ensure optimal performance.
Also, pay attention to any changes in your fan’s operation, such as unusual noises, wobbling, or decreased airflow. These signs could indicate the need for immediate maintenance or repairs.
Safety precautions to take
As you work with electrical appliances like ceiling fans, safety should always be your top priority. Taking the necessary precautions will not only protect you from potential accidents but also ensure the fan’s proper functioning. So, here are the things I recommend you to do once you decide to do ceiling fan cleaning.
- Before starting any maintenance or cleaning, make sure to turn off the fan and disconnect it from the power supply. This will prevent any risk of electrical shock.
- When accessing your ceiling fan, always use a stable and reliable ladder or stool that can support your weight. Ensure it is positioned on a flat, non-slippery surface. Never use chairs or other unstable objects to reach the fan.
- To prevent injuries from dust, debris, or any sharp fan components, wear protective gear such as gloves and safety goggles.
- Ceiling fan blades can be delicate. So apply gentle pressure to avoid bending or damaging the blades.
- If possible, have someone assist you during the maintenance process. They can help stabilize the ladder, hand you tools, or provide additional support as needed.
- Always refer to the manufacturer’s manual for specific maintenance instructions and safety guidelines for your particular ceiling fan model.
Cleaning your ceiling fan

If you want to keep your ceiling fan functioning efficiently and maintain a dust-free environment, then grab these tips from me. In this section, I will address various aspects of cleaning a ceiling fan, from removing dust and debris to cleaning hard-to-reach areas and internal components.
Removing dust and debris from fan blades
Regularly removing dust and debris from your fan blades is a sure way to prevent the build-up of allergens and ensure smooth operation. Use a microfiber cloth, a soft-bristled brush, or a vacuum cleaner with a brush attachment to clean the blades. Gently wipe or brush each blade, working from the base to the tip. Make sure to clean both sides. Be cautious while handling the blades to avoid causing any damage or bending.
Using cleaning solutions for fan blades
If your fan blades require more than just dusting, use a gentle cleaning solution to remove stubborn dirt and grime. Mix a few drops of mild dish soap with warm water, and use a soft cloth to wipe down the blades. Avoid using abrasive cleaners or soaking the blades, as this may damage the finish or warp the material. After cleaning, use a dry cloth to remove any excess moisture.
How to clean hard-to-reach areas and tight spaces
For hard-to-reach areas and tight spaces, use a long-handled brush, a flexible duster, or a vacuum cleaner with a crevice attachment. Ensure that you treat these delicate areas with care to avoid damaging any components or dislodging wires.
Cleaning the motor and other internal parts
The motor and other internal parts of your ceiling fan also require periodic cleaning to prevent dust build-up. First, remove the motor housing, following the manufacturer’s instructions. Then, use a soft brush or cloth to clean the exterior surface.
To clean the interior, use a vacuum cleaner with a brush attachment or compressed air to remove dust and debris. Avoid using water or liquid cleaners for internal parts, as this can cause damage or electrical issues. Always consult your fan’s manual for specific cleaning guidelines and reassembly instructions.
Maintaining the fan mechanism
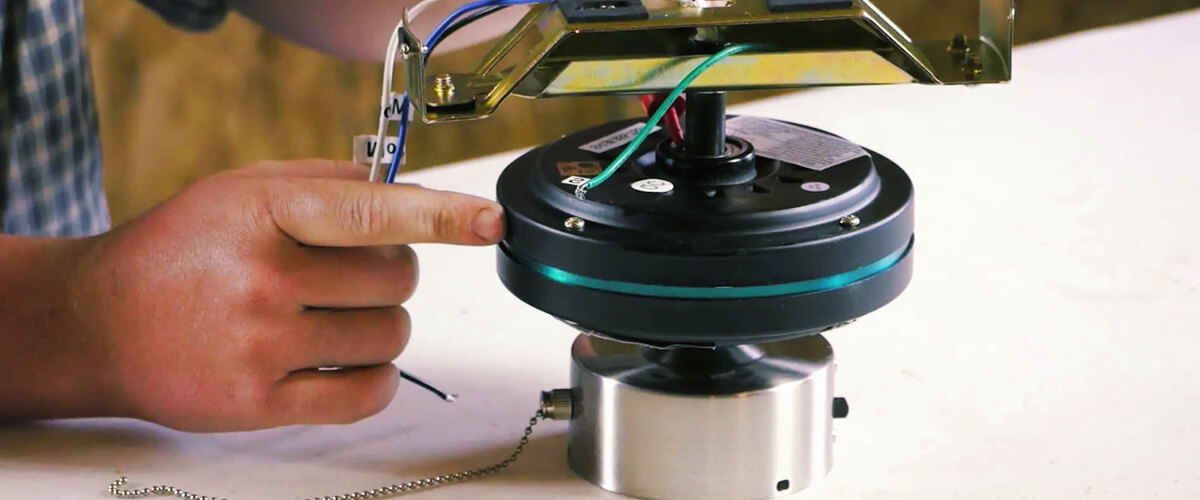
After cleaning your ceiling fan, don’t forget to address the fan’s mechanism. Properly lubricating your fan’s moving parts not only reduces friction but also increases its lifespan.
The importance of lubrication for ceiling fan parts
You know, ceiling fan lubrication is important for its smooth operation and long life. When you properly lubricate these parts, you reduce friction, avoid wear and tear, and even cut down on noise.
Tightening screws, bolts, and other parts
As time goes by, you might notice that the screws, bolts, and other parts of your ceiling fan get a bit loose. This can cause your fan to wobble, make noise, or even get damaged. So, check and tighten these components regularly to keep your fan strong and stable.





![How Many Blades Should a Ceiling Fan Have? [3 vs 4 vs 5-Blade]](https://www.kennedyproductions.com/wp-content/uploads/2023/08/does-the-number-of-blades-on-a-ceiling-fan-matter-300x150.jpg)
