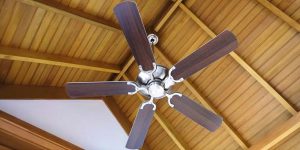
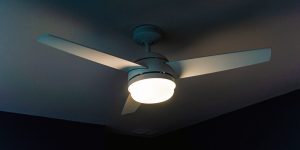
Ceiling fans are a practical, energy-efficient solution for keeping your home comfortable, especially during the sweltering summer months. They help circulate air throughout the room and significantly save energy bills. However, your knowledge of how to properly install a ceiling fan will be important in ensuring safety and optimal performance.
A well-installed ceiling fan reduces the risk of accidents and ensures that it works efficiently to provide the cooling effect you want. So, in this article, I will walk you through the installation of a ceiling fan step by step, sharing valuable tips and knowledge gained from my experience. So, without further ado, let’s begin this journey to a cooler and more comfortable home!
Preparing for installation

The key to a smooth and efficient process is good preparation, which means gathering the necessary tools and materials, choosing the ideal location, and prioritizing safety measures.
I find that having everything you need at arm’s length not only saves time and effort but also makes the entire process more enjoyable. It’s like preparing for an exciting do-it-yourself adventure that culminates in the satisfaction of a job well done.
Choosing the right spot for a ceiling fan is like finding the perfect dance partner – it requires considering factors such as room size, ceiling height, proximity to walls, or other obstacles. Then, when you find the perfect spot, everything just “clicks,” and your fan will spin gracefully, giving you maximum comfort.
And, of course, we should never compromise safety. It’s an invisible shield that protects you and your loved ones as you embark on that home improvement project. By taking the necessary precautions, you can ensure that the installation process goes smoothly and the result is a safe and effective cooling solution for your home.
So, let’s gather the tools, choose the perfect location, and put safety first by diving into the exciting process of hanging the ceiling fan!
Tools and materials needed
Make sure you have the following tools and materials on hand for a successful ceiling fan installation:
- screwdriver.
- wire stripper.
- pliers.
- wire nuts.
- voltage tester.
- ladder.
- equipment provided by the ceiling fan manufacturer (e.g., screws, mounting bracket, etc.).
This is the minimum necessary set of tools that will help you with the installation of the equipment and will be suitable for solving related problems.
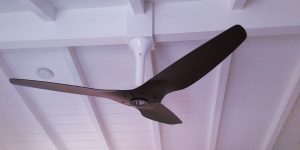
Choosing the right location for the ceiling fan
Choosing the ideal location for a ceiling fan is critical to its efficiency and safety. Consider factors such as room size, ceiling height, wall proximity, or other obstructions. I recommend at least 7 feet between the fan and the floor and at least 18 inches from walls and other objects.
Check electrical requirements and precautions
Compliance with local electrical codes is vital, as is making sure the electrical box in the ceiling can support the weight of the ceiling fan. If you are unsure about the electrical wiring in your home or if changes need to be made, contact a qualified electrician.
Read the ceiling fan manual
Each ceiling fan model may have unique installation requirements or additional steps. Therefore, read and follow the instructions in the manual carefully.
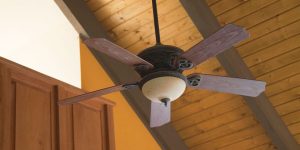
Step-by-step installation guide

Now that you’re armed and ready for action, it’s time to get down to the exciting task of mounting a ceiling fan. Think of it as a well-coordinated mission where each step is carefully executed to ensure a successful outcome.
As I guide you through this exciting process, I will share with you the knowledge gained from years of hands-on experience. So, strap on your tool belt, guide your inner DIY warrior, and prepare to conquer the installation process with precision and skill.
Let the mission begin!
Step 1: Safety first! Before proceeding, turn off the power in the ceiling fan installation area.
Step 2: If you are replacing an existing light or fan, carefully remove it according to the manufacturer’s instructions.
Step 3: Secure the mounting bracket to the electrical box in the ceiling with the fasteners provided.
Step 4: Following the manufacturer’s instructions, assemble the motor and ceiling fan canopy, ensuring they are properly aligned.
Step 5: Carefully lift the motor assembly and attach it to the mounting bracket, ensuring it is securely in place.
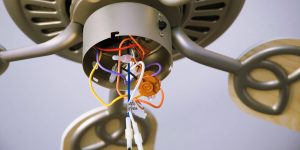
Step 6: Following the instructions, connect the wires from the motor to the wires from the electrical box, securing them with the nuts.
Step 7: Attach the fan blades to the motor unit with the supplied hardware, making sure they are securely fastened.
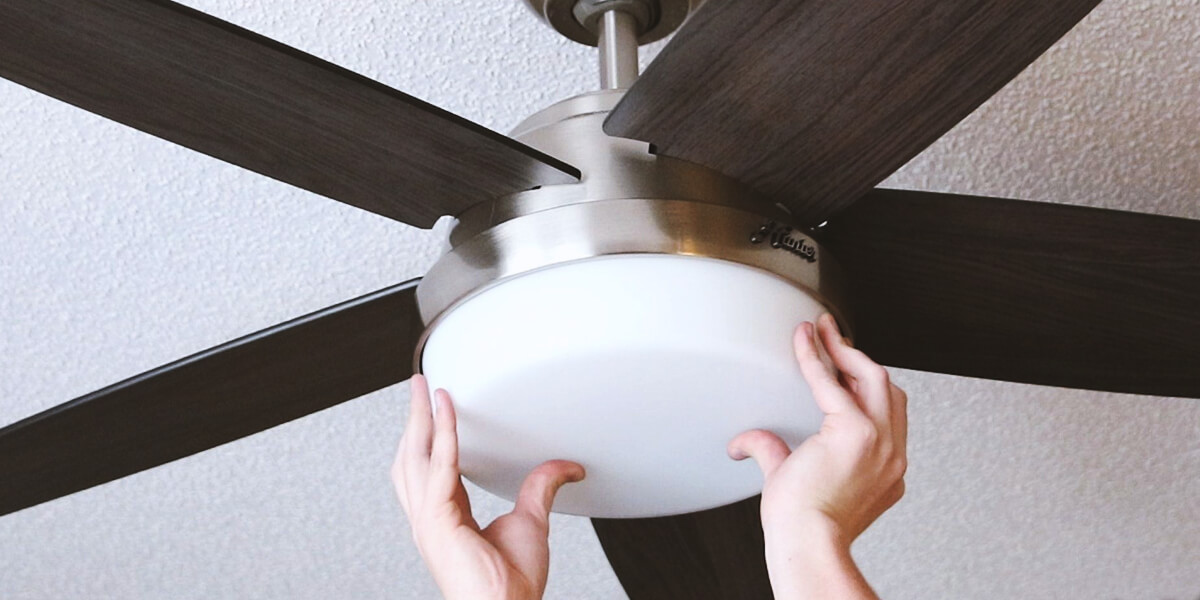
Step 8: If your ceiling fan is equipped with a light fixture, follow the manufacturer’s instructions for installation by connecting the necessary wiring.
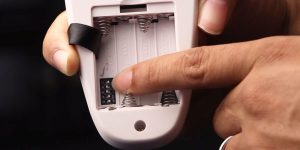
Step 9: Attach pull chains or controls according to instructions in the manual.
Step 10: Turn on the power and test the ceiling fan to ensure it operates properly.
Conclusion
Installing a ceiling fan in your home can be profitable and cost-effective. Following our step-by-step guide and the manufacturer’s instructions, you can successfully install your new ceiling fan and enjoy increased comfort and energy efficiency in your home. Remember to take precautions and consult with a professional electrician if you are unsure about any aspect of the installation process. It will all work out!


![How Many Blades Should a Ceiling Fan Have? [3 vs 4 vs 5-Blade]](https://www.kennedyproductions.com/wp-content/uploads/2023/08/does-the-number-of-blades-on-a-ceiling-fan-matter-300x150.jpg)